Creating a Portfolio Blog Site using Gatsby and NetlifyCMS
Creating a portfolio and blogging site using NetlifyCMS and Gatsby in about 15 minutes.
Depending on where you are in your coding journey it's never not a good time to think about creating a portfolio to show off what you're capable of accomplishing. Anyone can create a website using one of the major players, like Squarespace, Wix, or Webflow. But let's get comfortable using GitHub more and turning your portfolio into an actual project as well!
Read along or code along — by the end of this article, you'll have a website that you can start promoting yourself and projects with!
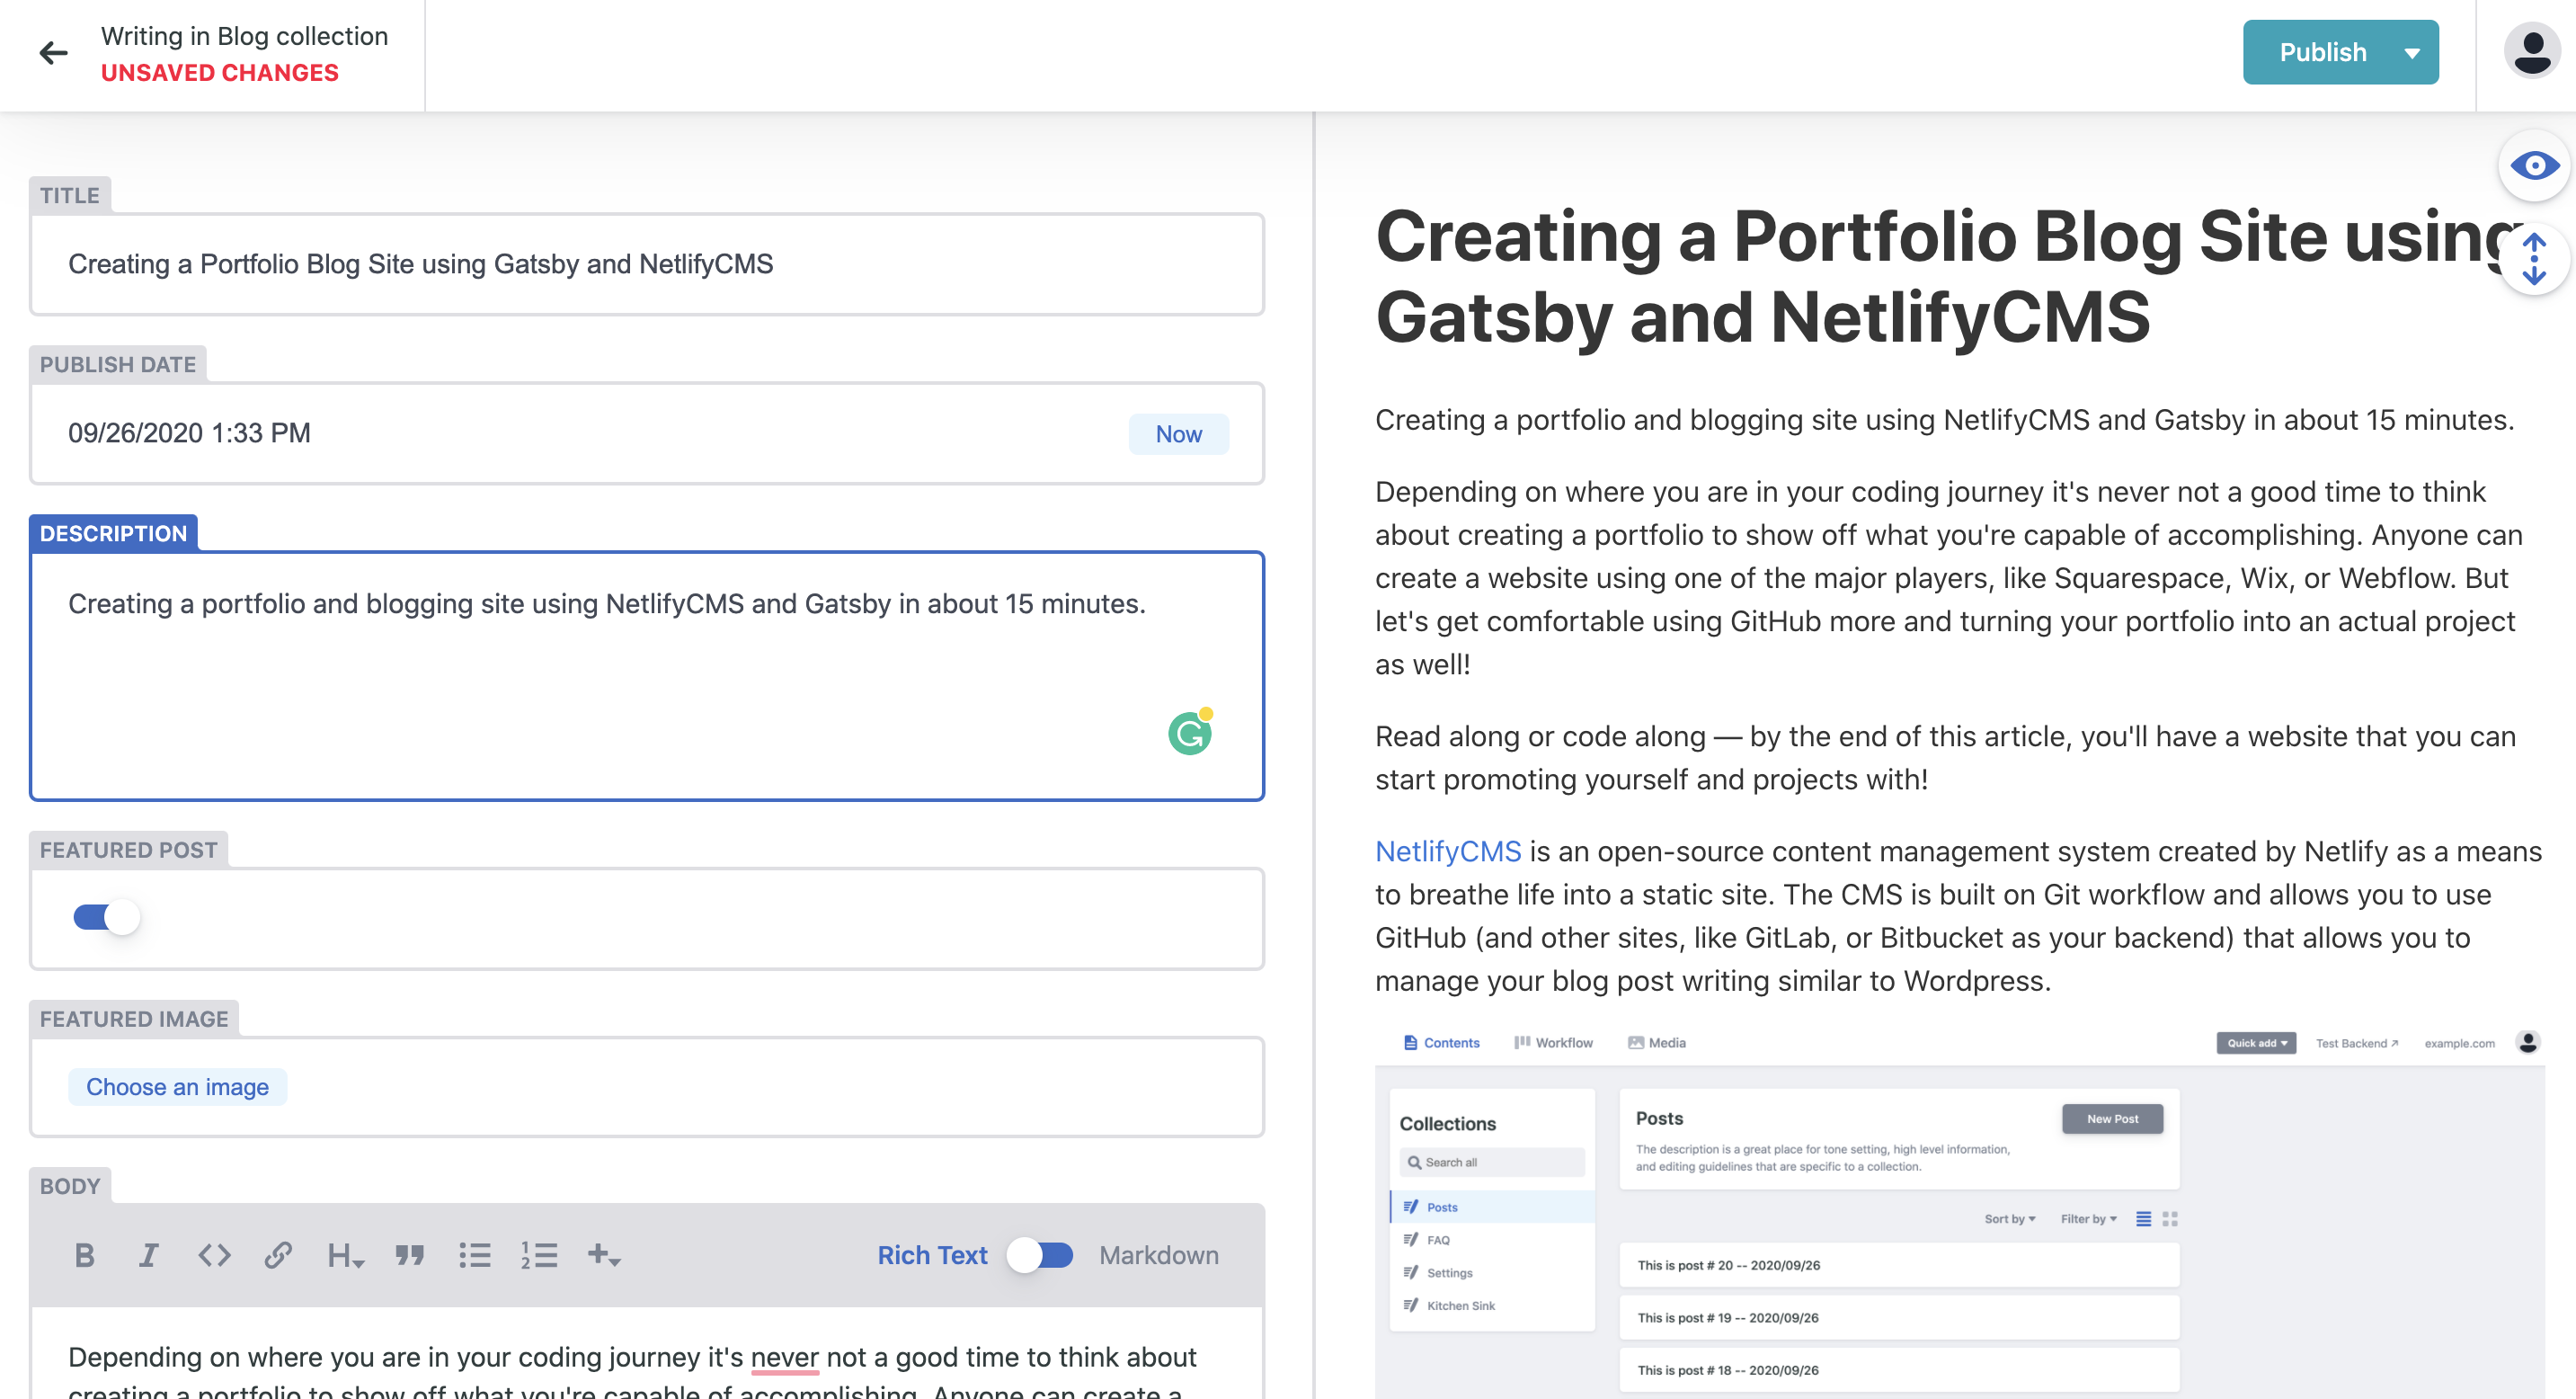
NetlifyCMS is an open-source content management system created by Netlify as a means to breathe life into a static site. The CMS is built on Git workflow and allows you to use GitHub (and other sites, like GitLab, or Bitbucket as your backend) that allows you to manage your blog post writing similar to Wordpress.


Let's navigate to the NetlifyCMS website and click the "GET STARTED" button.

Next, you'll be taken to a new page and asked to choose a template from a site builder. On a whim, I chose Gatsby. However, you can pick any of these site starters.

After clicking on the "Deploy to netlify" button below the Gatsby logo, we are taken to this screen asking us to connect to GitHub and create a repository.

The next step in this process is to change the repository name to anything that you would like and then click the "Save & Deploy" button.

After this, we'll be taken to a new page and see a log of our site being deployed. Here is a gif of my deploy log:

Bada bing bada boom! We have a website with sample posts and information.

Now let's create a new blog post!
First, we'll need to check our email with a body similar to this one:

When we're on the site, we just need to navigate to /admin to create a password and signup and then we can create a blog post by clicking on the "New Blog" button!

And here we are, coming full circle!